Showing posts with label aluat (dough). Show all posts

Tuesday, July 5, 2011

Tarta cu crema de vanilie si fructe (Vanilla Cream Fruit Tart)

Share


         Stiti cum e cu vorba aia, ai grija ce-ti doresti ca s-ar putea sa se indeplineasca? :)) pai da, a venit vara, dar a venit si umezeala odata cu vara si a transformat aerul in irespirabil; toate bune si frumoase, problema e ca mi-a cam luat cheful de a sta in bucatarie si a prepara mancaruri bune, de aceea e cam slaba si activitatea pe blog :) apetitul a scazut si el ce-i drept putin, dar tot mai fac cate ceva bun din cand in cand, mai ales dulce...si daca tot e vara si mananc fructe cu kilogramele, am zis sa fac si eu o tarta cu fructe, ca mi-am cumparat forma de tarta de vreo 2 luni si inca nu am folosit-o :)))
         Prilejul perfect a venit cu provocarea lunii iulie "Dulce Romanie", pe care o gazduieste Flory de la RETETE FEL DE FEL luna aceasta si care a propus ca ingredient si fructele de padure, dupa care eu sunt innebunita, asa ca indata m-am pus pe treaba :) Eu ii multumesc de invitatie la provocare si va rog sa-i faceti o vizita, pentru ca are niste retete minunate, tot una si una! Si acum sa vedem dulcegaria :)
         You know what they say, be careful what you wish for because your wish may come true? :) well yes, summer is definitely here but it also brought humidity and made the air unbreathable; everything's fine, but the problem is that I don't want to stay in the kitchen anymore and prepare delicious meals, that's why the activity on my blog is pretty low lately :) my appetite has decreased also, but I still make yummy things from time to time, especially sweet things...and since lately I'm eating lots of fruits, I wanted to make a fruit tart, since I bought a fruit pan 2 months ago and I never used it :)))
         The perfect occasion came with July's "Sweet Romania" challenge hosted by Flory from Retete fel de fel who chose as an ingredient Berries, which are perfect since I totally love them, I couldn't miss them. I want to thank her for the invitation and I suggest all of you to visit her blog, she has some amazing recipes posted! And now let's see the recipe for the tart :)

Ingrediente/ Ingredients:
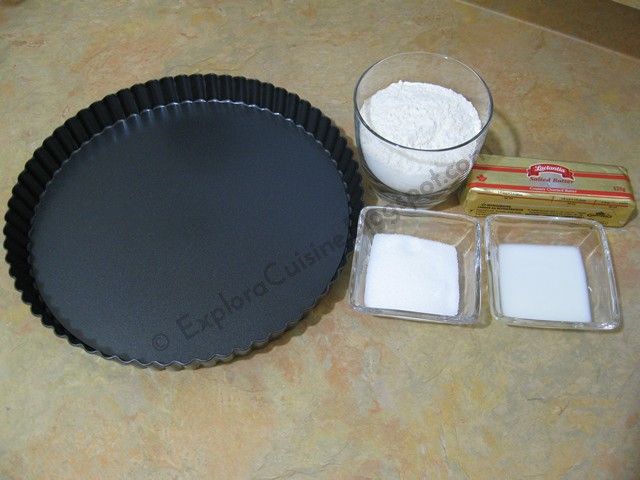
  Pt aluat/For the dough:  Sursa/Source

    125 g faina/125 g all purpose flour
    110 g unt/110 g butter
    1 ou/1 egg
    25 g zahar praf/25 g icing sugar
    1 lingura lapte/1 tablespoon with milk

Forma de tarta cu fund detasabil/ fluted tart pan with removable bottom


Pt crema de vanilie/For the vanilla cream: 

   3 galbenusuri/3 egg yolks
   400 ml lapte/400 ml milk
   25 g faina/25 g all purpose flour
   25 g amidon/25 g corn starch
   70 g zahar/70 g sugar
   vanilie/vanilla

Pt topping/For the topping:


   fructe: afine, zmeura, capsuni/ fruits: blueberry, raspberry, starwberry
 
Cum se face/How it's made:
   
Mai intai facem aluatul: intr-un bol punem faina amestecata cu zaharul, oul , untul rece taiat cubulete si laptele
We first make the dough: in a bowl we add the flour, sugar, cold butter, the egg and the milk.


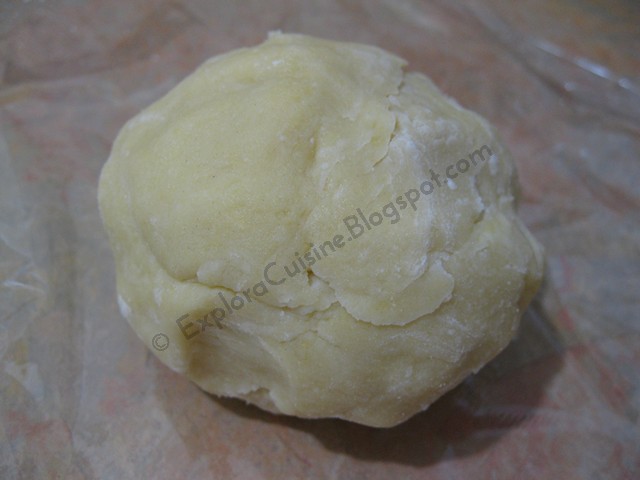
Amestecam cu mana ingredientele pana se aduna laolalta, punem aluatul in folie alimentara si dam la frigider pentru minim 30 de minute, eu l-am lasat 1 ora; cu cat il lasati mai mult cu atat va fi mai fraged.
We combine the ingredients until we form a ball, we place the dough in saran wrap and we place it in the fridge for at least 30 min, I left it for 1 hour; the more it stays in the fridge the tender it will be.

Scoatem aluatul din frigider dupa 1 ora si il intindem in mod egal cu sucitorul pe blatul infainat pana e mai mare ca si forma si ungem forma de tarta cu unt.
We remove the dough from the fridge after 1 hour and we roll it with a rolling pin until it's bigger than the tart pan and we grease the tart pan with butter.
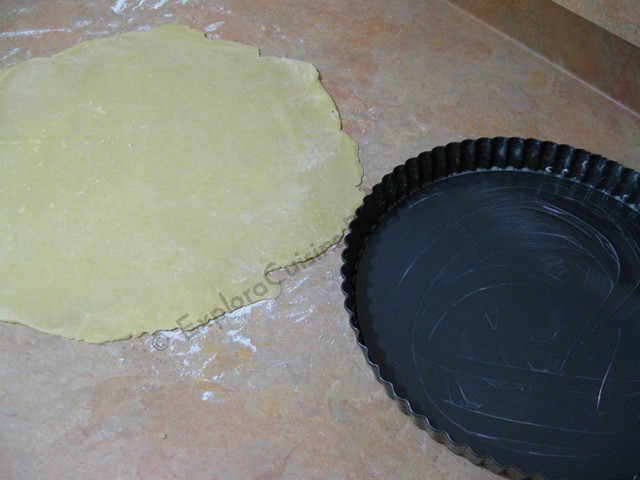

Usor luam aluatul si il potrivim in forma iar cu dosul unei linguri presam usor pe striatii.(daca se rupe pe alocuri, puteti sa completati cu aluat)
We gently take the rolled dough and we place it in the pan and using a wood spoon we make the lines on sides.

                                                                              
Indepartam surplusul de aluat pe margini si intepam aluatul cu furculita pentru a nu se umfla la coacere.
We cut off the remaining dough on sides and using a fork we make holes in the dough, to prevent dough to rise while baking.


Peste tarta punem hartie de copt si bile ceramice, sau fasole, orez, etc, pentru a coace tarta si a o preveni sa se umfle la coacere.
On top of the dough we place a baking paper sheet and ceramic balls (for baking), or beans, rice, etc, to prevent the tart from rising while baking.(blind baking)


Punem tarta in cuptorul preincalzit la 170 grade pentru 20 de minute, iar dupa acest timp luam hartia si greutatile jos si mai lasam inca aproximativ 5 minute (eu am scazut si temperatura putin); tarta e gata cand devine aurie.
 Cand e coapta, o scoatem pe un gratar impingand fundul de tava in sus usor. Pentru prima data a iesit perfect , aluatul e foarte gustos, nisipos si aromat si nu se rupe deloc; doar sa aveti grija sa rulati aluatul pana sus, ca la coacere el se va lasa putin si inca ceva: mare grija la cum scoateti tarta, eu m-am ars rau la mana cu marginea tavii!!!
We place the pan in the preheated oven at 340 degrees  for 20 minutes, and after 20 min we remove the baking paper and the weights and we place it back in the oven for about another 5 minutes (I reduced the temperature too a little bit); the tart shell is baked when it's golden brown. 
 When the tart is baked, we remove it from the pan by pushing the removable bottom up gently. For my first tart I think it's perfect, the dough is really tasty and doesn't break; pay attention to the dough sides when you place it in the pan, the dough tends to decrease its height a little bit and one more thing: Be very careful how you remove the shell, I got burned really bad with the side of the pan!!!
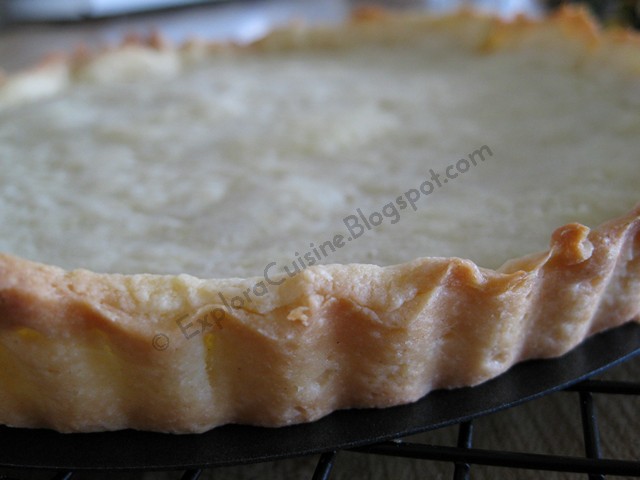

Pana se raceste aluatul ne ocupam de crema/While the shell cools, we prepare the cream filling.
 Intr-o craticioara punem galbenusurile cu zaharul, vanilia, faina, amidonul si amestecam bine cu telul, adaugand cate putin lapte, pana il punem pe tot.
In a small pot we place the egg yolks with the sugar, vanilla, flour and corn starch and we mix them all using a whisk, adding milk slowly until we add it all. 


Punem craticioara la foc mic si amestecam constant pana obtinem o crema mai groasa, pe care o lasam sa se raceasca bine. Cand crema s-a racit incepem sa asamblam tarta
We place the pot on low heat and we constantly stir until we get a thick cream, which we let it cool off. When the cream has cooled we start to assembly the tart:

Umplem tarta cu crema/We fill the tart shell with the vanilla cream.


Spalam fructele dorite si le uscam bine cu servete de hartie. Ornam tarta dupa preferinta. Voila!
We wash the fruits and we pat them dry using paper towels. We decorate the tart. Voila!
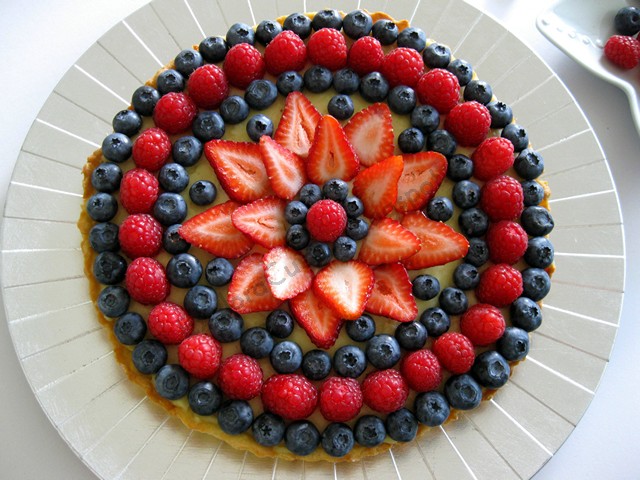

Am obtinut un desert aromat si racoritor, perfect pentru vara!
We got a very flavorful and refreshing dessert, perfect for the summer!
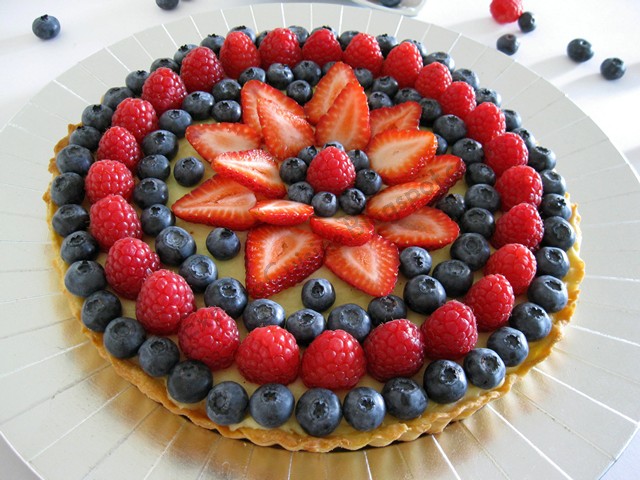

Foarte apetisant si foarte dorit la petreceri de toata lumea!
Appetizing and highly wanted by everyone at parties!
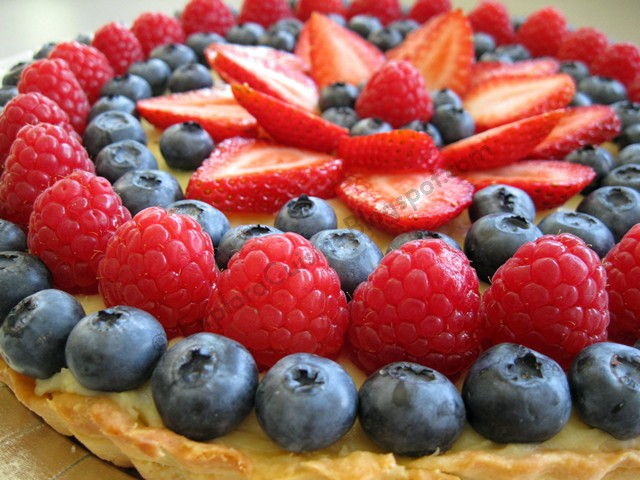

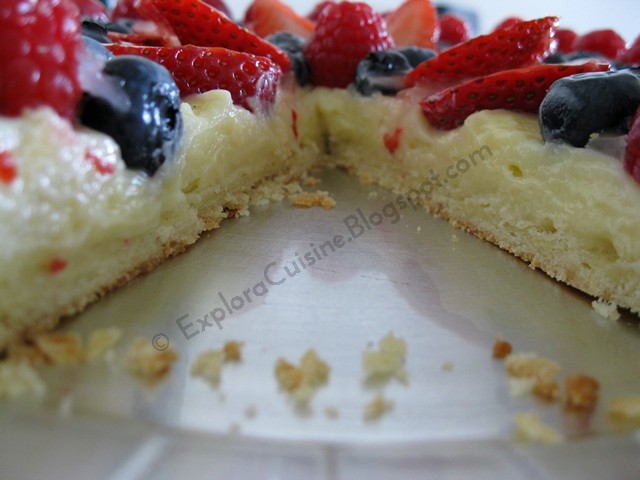
Sectiune...Section...

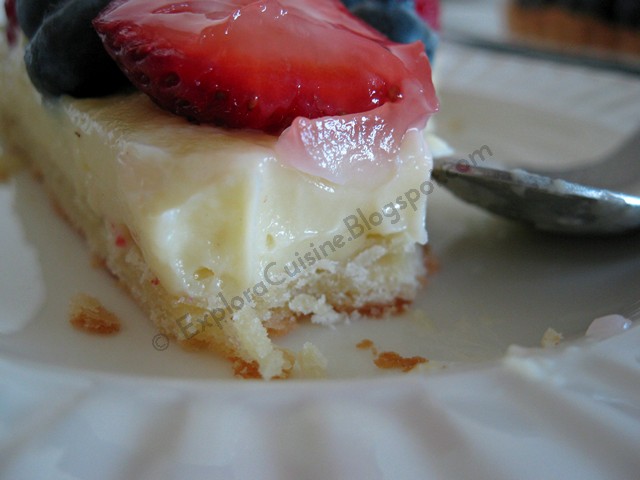
Felie pentru voi (am pus putin gelee pentru fructe)...A slice for you (I've put a little bit of glaze on the fruits)...
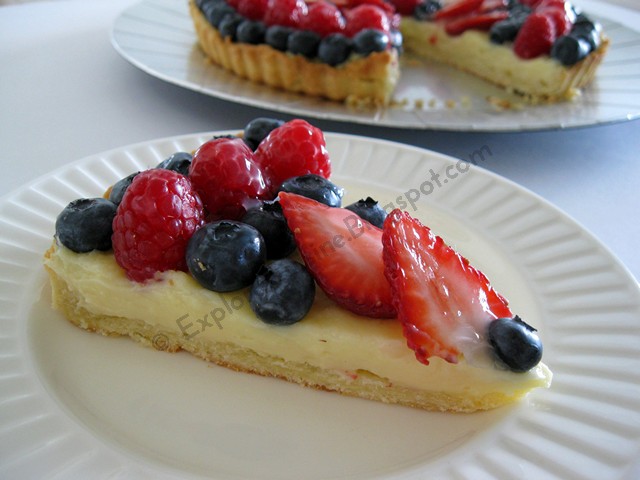

Sa luam o imbucatura, nu? :)  Let's take a bite, right? :)  Bon appetit!!!
Monday, February 28, 2011

Paine alba simpla - reteta pas cu pas (Simple White Bread - Step by Step Recipe)

Share


Please scroll down for English version


         Din categoria "How it's made" cred ca trebuie sa faca parte si o reteta de paine alba simpla. La mine in familie nu se facea prea des paine de casa, asa ca dupa ce am venit in Canada am cautat pe internet retete de paine pana m-am lamurit care e procesul de preparare. Credeam ca e o povara sa faci paine, ca dureaza mult si e dificil, dar dupa ce am facut-o pe prima, nu am mai cumparat paine decat foarte rar si de aceea m-am gandit ca o reteta cu poze pas cu pas pentru paine, ar face sa fie mai putin "scarry" prepararea ei (ma refer desigur la cei care nu au masina de facut paine, pentru ei e mult mai simplu :). Sper sa va ajute pozele!


Ingrediente pt 1 paine:                                      

  1.     500 g faina alba de buna calitate (eu aici  cumpar Robin Hood, e cea mai buna)
  2.     25 g drojdie proaspata (sau uscata dupa caz, eu cumpar la pachet de la o brutarie)
  3.     300 ml apa
  4.     1/2 lingurita zahar
  5.     3 linguri ulei 
  6.     1/2 lingurita sare
   

Eu fac de obicei cate 2 paini odata, si de aceea pozele arata o cantitate mai mare de aluat si 2 tavi in loc de una.
Este bine ca drojdia sa fie la temperatura camerei.

Cum se face:

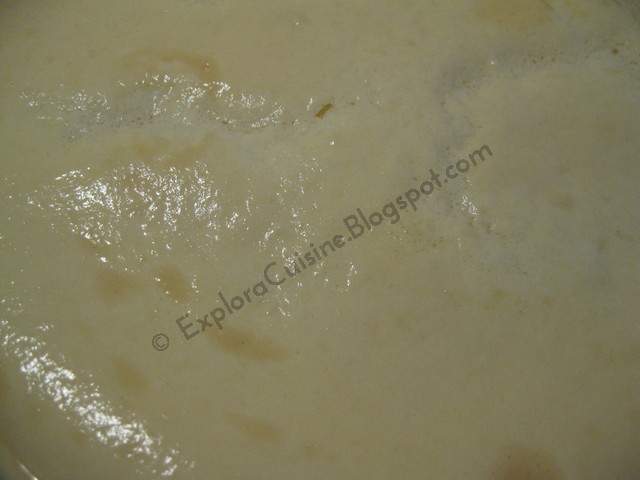
        Mai intai preparam maiaua:  intr-un bol mic punem drojdia zdrobita, zaharul si 300 ml apa calduta (nu fierbinte!) si o lingura de faina.
 Amestecam bine, punem un stergar deasupra peste bol si lasam vreo 15 minute pana cand maiaua isi dubleza volumul.   daca drojdia este proaspata si de buna calitate, maiaua va creste frumos, in cazul in care nu creste, nu va mai obositi sa continuati, pentru ca nu va creste painea).
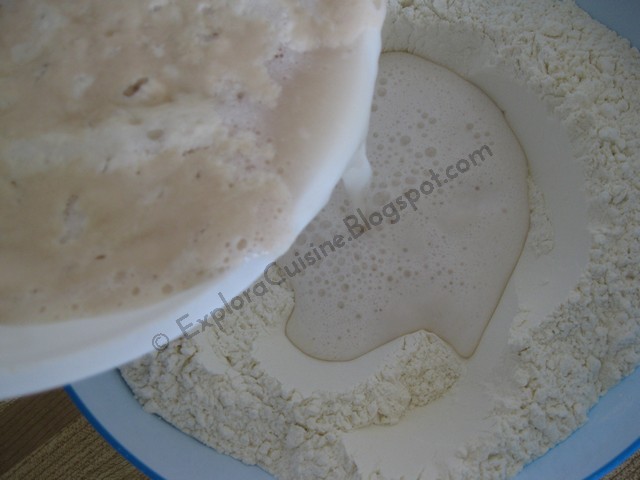
       Intre timp, cantarim si cernem faina (cea pe care o folosesc eu e deja cernuta), o punem intr-un vas mai adanc, adaugam sarea si amestecam bine (am citit undeva ca nu e bine ca sarea sa intre in contact cu drojdia) si facem o groapa in mijloc.  Maiaua a crescut...


Adaugam maiaua in faina din bol.


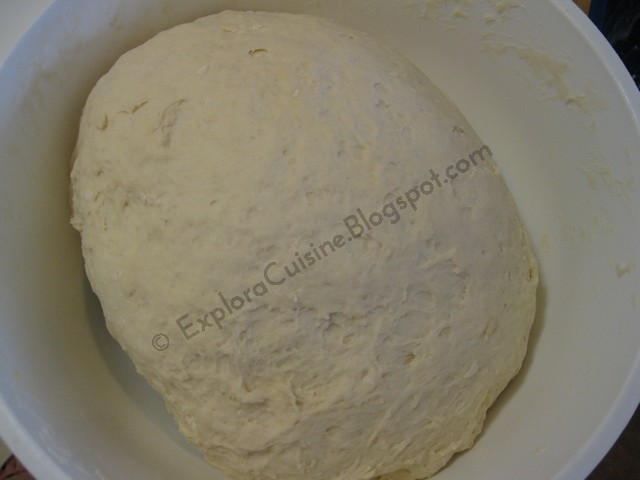
Incepem sa framantam, adaugam uleiul si framantam pana cand aluatul se ia de pe peretii vasului. Eu nu framant decat pana se inglobeaza toata faina.
 Trebuie sa arate asa:


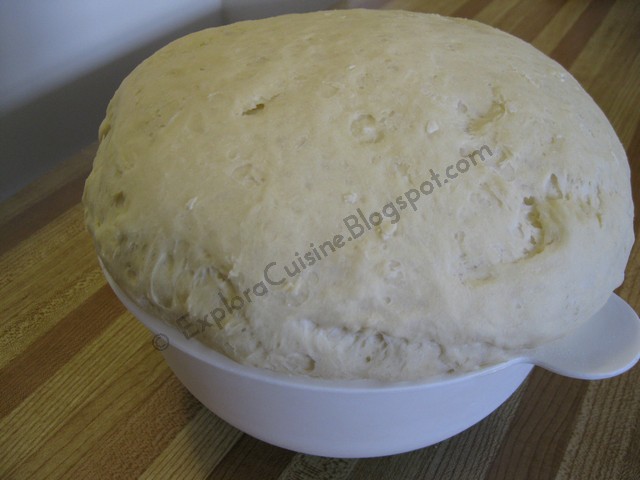
 Acoperim cu un stergar vasul si il punem intr-un loc caldut, ferit de curent.(unii sugereaza sa incalziti cuptorul si sa puneti inauntru aluatul, eu din experienta va spun ca aluatul se va intari de la caldura deasupra). Lasati aluatul sa creasca aproximativ 1,5 ore. Dupa ce a crescut frumos...


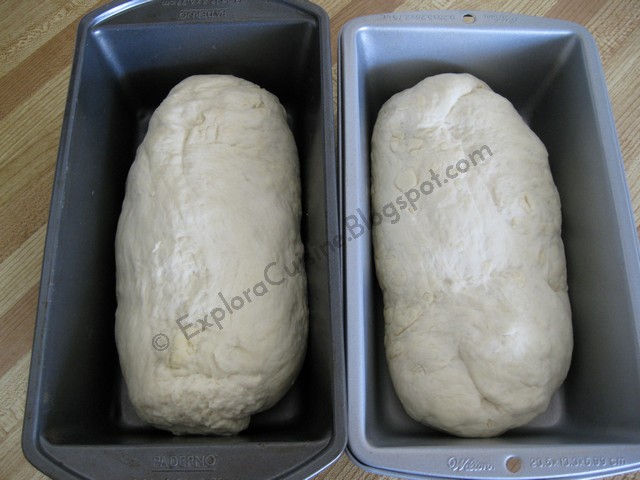
Pregatim 1 tava (eu folosesc de chec, imi place painea in forma de franzela, dar puteti sa folositi orice tava doriti, depinde de forma pe care vreti sa i-o dati). Scoatem aluatul din bol, si il framantam 1 secunda, si ii dam forma dorita. Il asezam in tava. Preincalzim cuptorul la 195 grade Celsius sau 390 grade F).


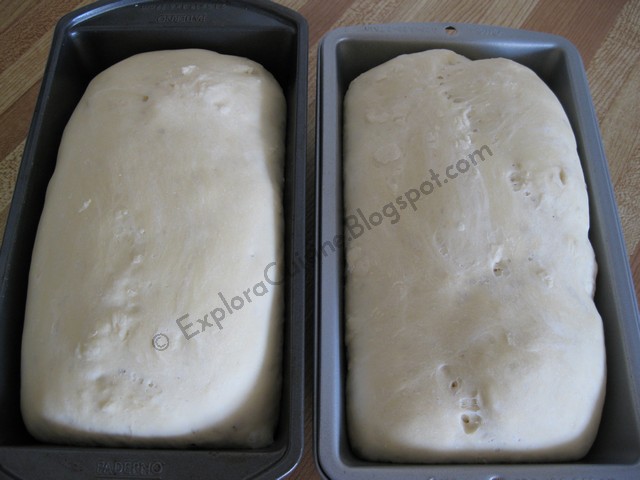
Lasam sa creasca inca vreo 30-45 minute, pana cand ajunge sa depaseasca putin tava (acoperim cu stergar tava). Mie imi place painea nu foarte inalta, asa ca nu o las sa creasca exagerat. Dupa 40 min..


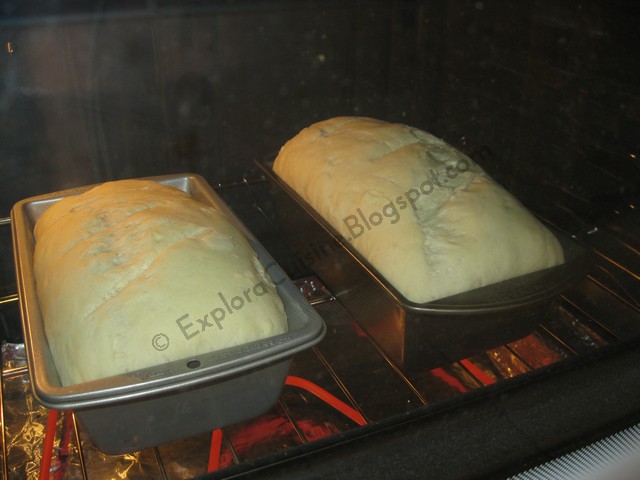
Facem usor niste taieturi cu cutitul pentru model fara a apasa aluatul. Eu nu ung cu nimic deasupra painea, iasa foarte frumoasa asa. Dam la cuptorul incins la 390 gr F timp de 40 minute. Mirosul din casa devine ucigator :))


Dupa 40 minute, scoatem painea pe un gratar si lasam sa se raceasca.


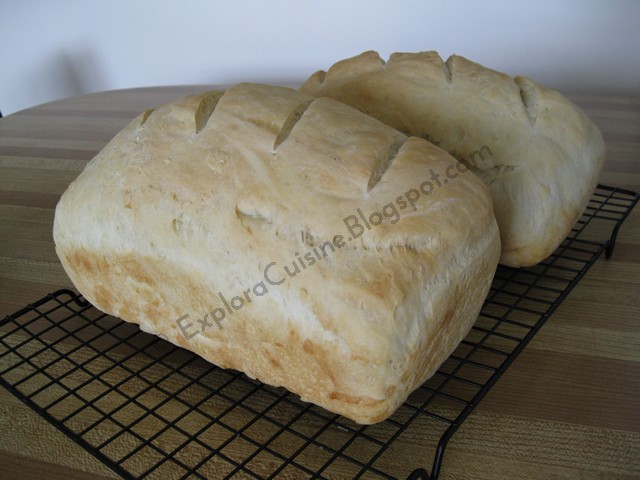
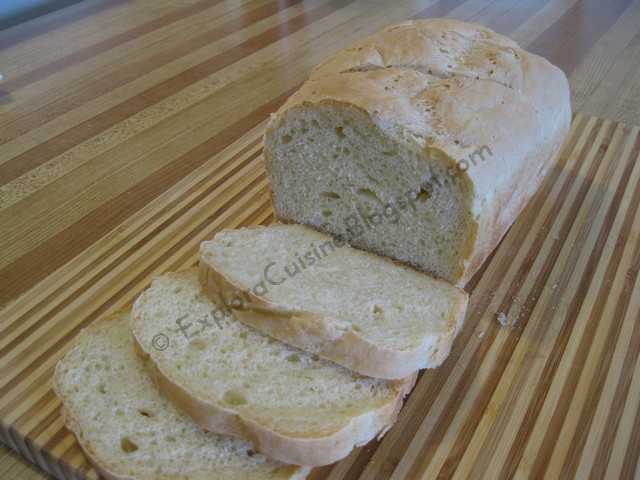
Observati ca una e mai mica si una mai mare :))) niciodata nu reusesc sa modelez in mod egal fiecare paine :)  Dupa ce s-a racit, puteti taia felii, yummy!!!


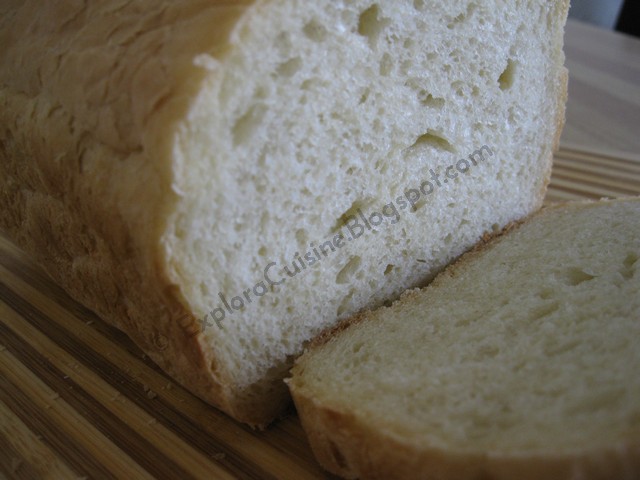
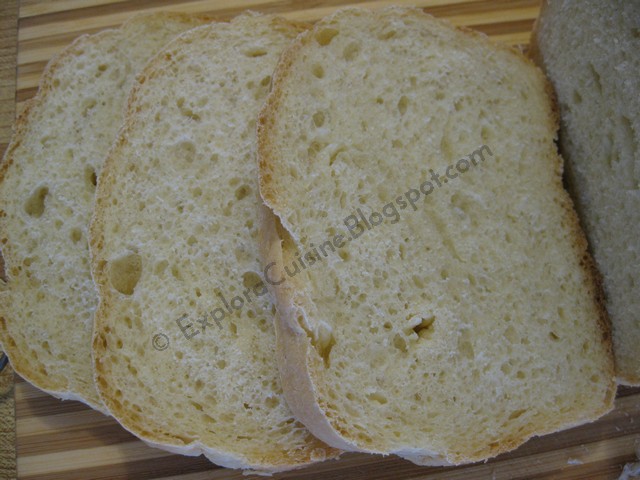
 Si ca sa vedeti cat e de pufoasa...Voila!


  Nu sa-mi laud singura marfa, dar e perfecta!!! pufoasa si aromata, cu o crusta delicioasa! Sper sa va placa painea, caci e tare buna si merge cu orice!


 English version


     In the category "How to"  I believe a simple white bread recipe must be included. In my family bread wasn't made very often, so when I came to Canada I searched the Internet for bread recipes until I figure it out how to do it. I thought it was a burden to make bread, that it takes a lot of time and it's difficult, but after I did my first one, I havn't bought bread but on very rare occasions and so I thought a step by step recipe for bread with pictures would make it less "scary" preparing it (I refer of course to those who don't have a bread machine at home :). I hope the pictures will help!

 Ingredients: 

  1.     500 g white flour of a good quality (I buy Robin Hood flour, it's the best)
  2.     25 g fresh yeast (or dry if it's the case, I buy it from a bakery shop in a bigger package)
  3.     300 ml warm water
  4.     1/2 teaspoon sugar
  5.     3 tablespoons oil (olive oil or sunflower oil)
  6.     1/2 teaspoon salt

I usually make 2 breads at a time, and that's why the pictures show more dough quantity and 2 pans instead of one.
It's best if you use the yeast at room temperature.

 
How it's made:

   We First prepare the yeast mixture: in a small bowl crumble the yeast, add the sugar and 300 ml warm water (not hot) and 1 tablespoon of flour.
   Mix well, put a towel over the bowl and leave it for about 15 minutes until yeast doubles its volume. If the yeast is fresh and a good quality one, the yeast mixture will grow nicely( if it doesn't  increase, don't bother to continue).
   Meanwhile, weigh and sift flour (I use one that is already pre-sifted), put it in a deep and large enough  bowl, add salt and mix well (I read somewhere that salt is not good when it comes in contact with the yeast) and make a hole in the middle. The yeast increased its volume ...
   We add the yeast in the bowl where the flour is. We add the oil.
   We knead the bread until it all comes together. We can sprinkle some flour if it gets to sticky.
   It should look like this:
   We cover the dough with a clean kitchen towel and we place the bowl in a warm place, faraway from cold air.(some people suggest that we should put the bowl in the preheated oven, but from my experience I can tell you that it will make the dough hard on the surface). Let the dough sit until it doubles it's volume, for 1,5 hours. When finished...
   We prepare a pan (I usually use a loaf pan, because I like the bread to have the shape of a loaf, but you can use any kind of pan that you like, depending on the shape you want it to have). We knead the dough for a second, and we give it the shape we want, we place it in the pan.
   We preheat the oven at 390 degrees.
   We let the dough rise again for 30-45 minutes, until it reaches the top of the pan (we cover it with the kitchen towel). I don't like the bread very tall, so I don't let it rise to much. After 40 minutes...
   Using a sharp knife, we make 3 or 4 cuts on the bread gently and without pressing the dough. I don't oil the bread at all, because it will come out nicely without anything. We place the pan in the oven for 40 minutes at 390 degrees.  The smell in the house is a killing one :))
  After 40 minutes, we take the bread from the oven, and we place the bread on a rack to cool down.
  You can see that one is bigger and one is smaller, because I can never make them equal from the start :)).  After it cooled down, we can slice it. Yummy!
   So you can see how beautiful it is...
   It has a beautiful flavor and it's very easy to make, I hope you try  it!
Related Posts Plugin for WordPress, Blogger...